
Fire Damage Restoration: A Step-by-Step Recovery Guide
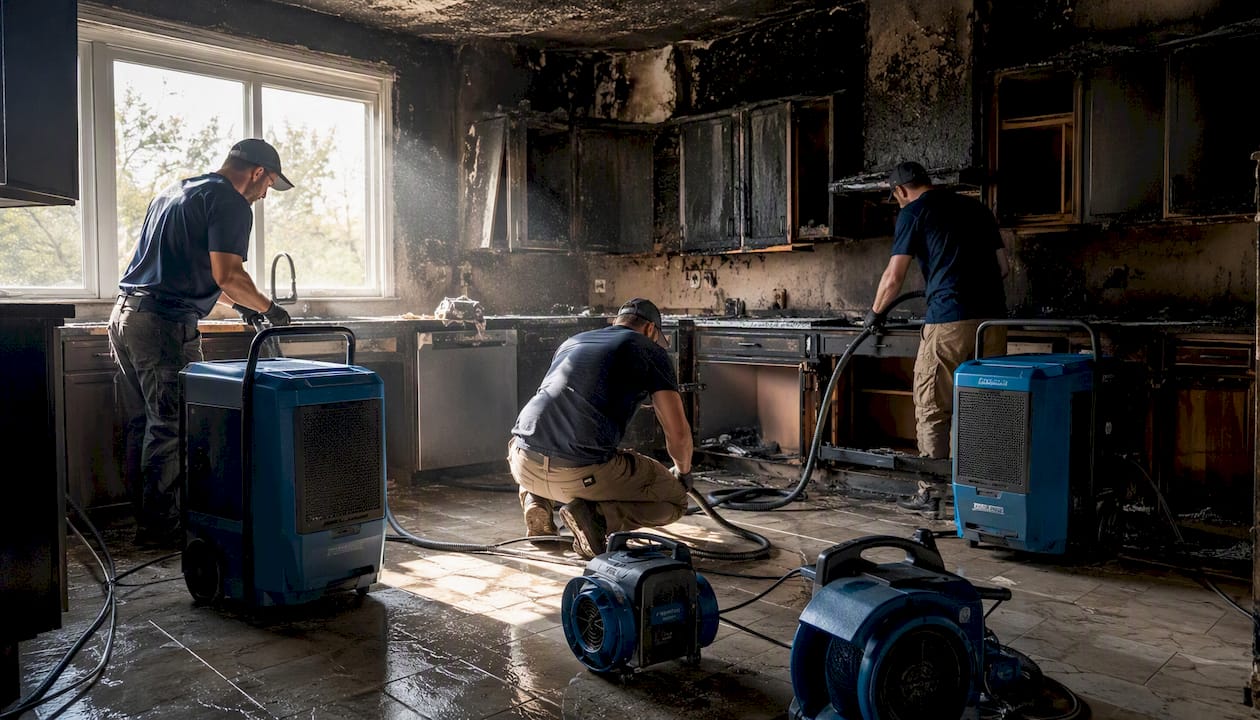
After a fire, your first priority is life safety. Do not re-enter the structure until the fire department has officially cleared it. Once they have, your next calls are to your insurance company and a licensed restoration contractor who can respond within hours for emergency stabilization. Everything else follows from those two actions.
Here is what to do in the first 24 hours:
Stay out until fire officials declare the structure safe to enter.
Call 911 if the fire is still active or smoldering; confirm the scene is fully cleared before approaching.
Contact your insurer immediately. Report the loss, ask about approved vendors, and get a claim number. Keep every contact’s name and callback number.
Arrange emergency stabilization. A restoration contractor should board up openings, tarp damaged roof sections, and begin water extraction from firefighting efforts within hours, not days. Delays allow secondary water damage and mold to compound the loss.
Document before anything moves. If the fire department has cleared the scene and it is safe to walk through, photograph and video every room before any debris is touched. This documentation protects your claim.
Remove pets and irreplaceable items (medications, documents, valuables) only if you can do so safely and quickly.
Do not run the HVAC system. Soot particles travel through ductwork and contaminate rooms that were never touched by fire.
Pro Tip: Set your phone to record video as you walk through for the first time. A continuous video walkthrough captures context that individual photos miss, and adjusters often find it easier to review.
Key Takeaways
The fire damage restoration process requires immediate action on safety and documentation, professional mitigation for anything beyond light smoke odor, and close coordination between your contractor and insurance adjuster from day one through final closeout.
Point | Details |
Safety comes first | Do not re-enter until fire officials clear the scene; wear N95, gloves, and goggles if you do. |
Document before cleanup | Photograph and video every affected area before anything is moved or cleaned. |
Stop the HVAC immediately | Running the system spreads soot through every duct and room in the house. |
Get a written scope | Require line-item estimates with start and completion dates before any work begins. |
Coastalhrli covers the full process | From emergency board-up through permitted reconstruction, with direct adjuster coordination in Suffolk County. |
Table of Contents
What is fire damage restoration, and who does the work?
Fire damage restoration is the full sequence of services that returns a fire-damaged property to its pre-loss condition. That sequence runs from emergency stabilization through cleaning, drying, deodorization, contents handling, and structural reconstruction. It is not a single trade; it draws on several overlapping specialties, and understanding who does what helps you hire correctly and ask the right questions.
The specialists involved:
Emergency response crews handle board-up, roof tarping, and temporary weatherproofing within the first hours.
Mitigation technicians manage water extraction and structural drying using LGR dehumidifiers and air movers.
Soot and smoke specialists classify residue types and apply the correct cleaning chemistry and equipment. The IICRC S700 is the governing industry standard for this work, covering residue classification and accepted cleaning protocols.
Contents technicians pack out, inventory, and restore salvageable personal property using ultrasonic cleaning, dry cleaning, and ozone treatment.
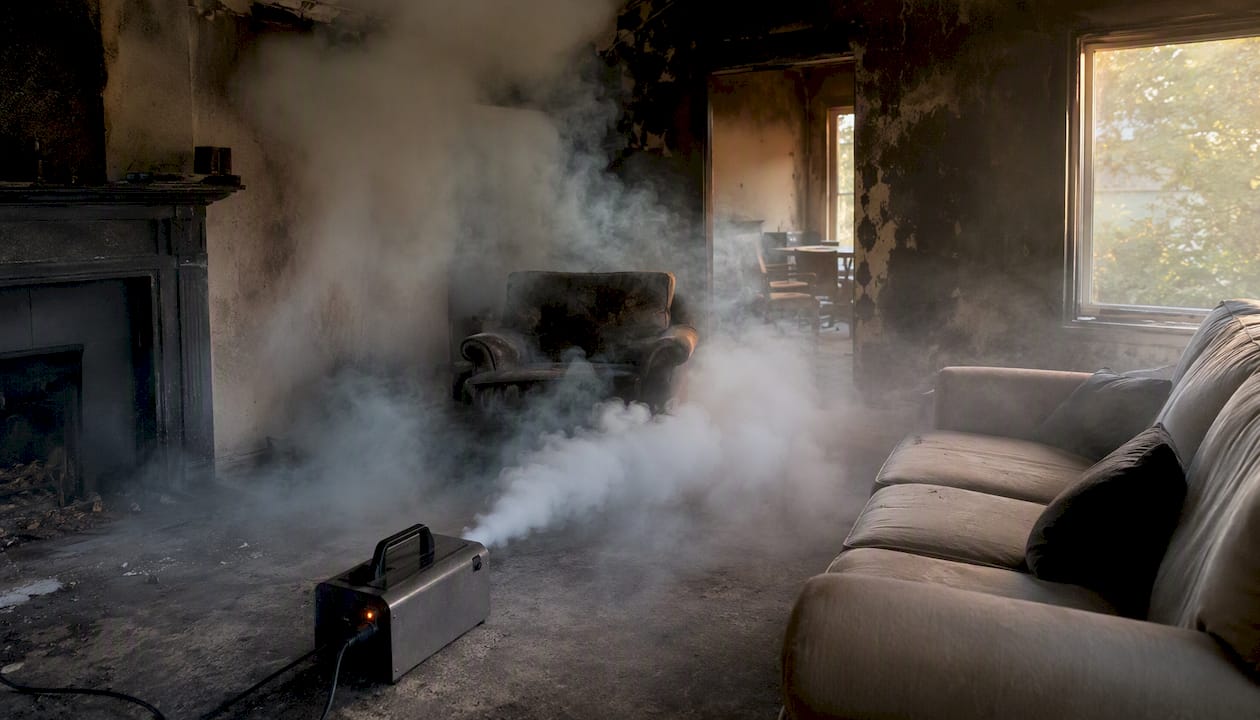
Odor-remediation technicians apply thermal fogging, hydroxyl generators, or ozone treatment to neutralize smoke compounds at the molecular level.
Licensed trades (electricians, plumbers, framers, drywall crews) handle the reconstruction phase once mitigation is complete.
When vetting any contractor, ask for proof of IICRC FSRT (Fire and Smoke Restoration Technician) training, current liability and workers’ compensation insurance, a local business license, and written confirmation of 24/7 emergency response capability. A contractor who cannot produce those four items before starting work is a contractor worth skipping.
How does the fire damage restoration process work, step by step?
The fire damage restoration process follows a defined sequence. Phases can overlap, but the order matters because skipping steps or reversing them causes permanent damage and complicates insurance documentation.
Emergency contact and scene clearance. You call the fire department, your insurer, and a restoration contractor. The contractor confirms the scene is cleared before entering.
Site stabilization and board-up. Openings are boarded, roofs are tarped, and the structure is secured against weather and unauthorized entry.
Detailed damage assessment and scope development. Technicians use thermal imaging cameras and moisture meters to map hidden damage. Smoke residue types (dry, wet, protein, fuel oil) are classified per IICRC S700 standards, and a written scope with line-item costs is prepared for the insurance adjuster.
Debris removal and controlled demolition. Charred materials, unsalvageable finishes, and contaminated insulation are removed. Any demolition affecting structural elements requires a permit.
Water extraction and structural drying. Firefighting water saturates framing, subfloors, and wall cavities. LGR dehumidifiers and axial air movers run continuously; technicians take daily moisture readings to confirm drying progress.
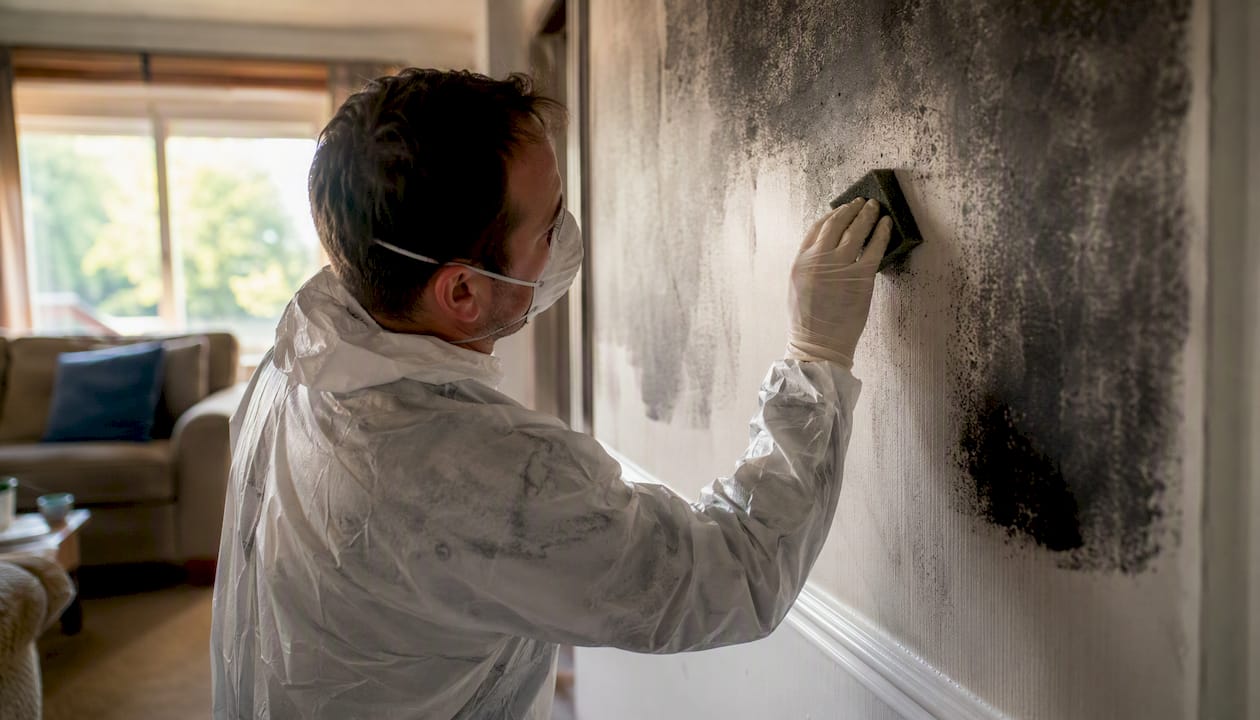
Soot and smoke cleaning with contents pack-out. HEPA vacuuming and dry-chemical sponges come first. Wet cleaning follows only after dry residues are removed. Salvageable contents are inventoried and packed out for off-site cleaning.
Odor elimination. Thermal fogging, ozone treatment, or hydroxyl generators neutralize smoke compounds embedded in porous materials. The structure must be vacated during ozone treatment.
Reconstruction and final repairs. Framing, drywall, flooring, cabinetry, electrical, and plumbing are restored to pre-loss condition. Permits are pulled for all regulated work.
Final walkthrough and closeout. The homeowner, contractor, and insurance adjuster inspect the completed work. Documented moisture readings and photo progress reports from each phase support the final claim settlement.
Hazardous materials require a separate step. Older homes may contain asbestos in floor tiles, insulation, or joint compound. Fire disturbs these materials, and contaminated ash can carry them throughout the structure. A licensed abatement contractor must test and remediate before general cleaning begins. FEMA’s homeowner remediation guide addresses this directly and recommends professional contractors for moderate-to-heavy smoke damage scenarios.
Pro Tip: Before reconstruction begins, require a written clearance report from a licensed inspector covering electrical safety and structural integrity. Rebuilding over a hidden problem costs far more to fix later.
What actually happens inside the key restoration steps?
The phase names are easy to understand; the technical execution inside each one is where most homeowners get surprised. Here is what proper work looks like at the detail level.
Assessment
Technicians use thermal imaging to find moisture pockets behind walls and ceilings that are invisible to the naked eye. Moisture meters confirm readings before and after drying. Smoke residue classification matters because it directly determines cleaning chemistry. Dry residues from fast-burning fires brush off more easily. Wet residues from slow, smoldering fires are sticky and penetrate porous surfaces deeply. Protein residues from kitchen fires (grease, food) are nearly invisible but produce intense odor and require enzymatic cleaners. Fuel-oil residues from furnace puffbacks leave oily, dark deposits that need specialized solvents. IICRC S700’s residue classification system is the framework technicians use to make these calls, and you should ask your contractor which residue types they identified and how that shaped their cleaning plan.
Water extraction and structural drying
LGR (low-grain refrigerant) dehumidifiers pull moisture from the air more efficiently than standard units, especially in cooler conditions. Axial air movers direct airflow across wet surfaces to accelerate evaporation. Technicians take daily moisture readings and log them. Those logs become part of the insurance file and confirm that drying was completed before reconstruction covered the framing. Skipping this step and rebuilding over wet framing leads to mold within weeks.
Soot and smoke cleaning
The sequence is non-negotiable: dry cleaning first, wet cleaning second, sealing third. Dry-chemical sponges lift loose soot without smearing. HEPA vacuums capture fine particles without redistributing them. Only after dry residues are removed do technicians apply wet cleaning solutions. Applying water-based cleaners to unvacuumed soot drives particles deeper into porous surfaces and can make the staining permanent, a mistake restoration experts at This Old House specifically warn against. After cleaning, stain-blocking primers (shellac-based products like Zinsser BIN work well for smoke) seal residual odor compounds before repainting.
Contents pack-out
Salvageable contents fall into three categories: restore on-site, pack out for off-site cleaning, or replace. Items packed out go through ultrasonic cleaning (for hard surfaces), dry cleaning (for textiles), or ozone/hydroxyl treatment (for odor). Every item gets logged in a chain-of-custody inventory that feeds directly into the contents portion of your insurance claim. Missing this step means leaving claim dollars on the table.
Odor elimination
Thermal fogging disperses a deodorizing fog that penetrates the same porous surfaces smoke reached. Ozone generators produce ozone that oxidizes odor compounds but require the structure to be completely vacated, including pets and plants, for the duration of treatment and a ventilation period afterward. Hydroxyl generators are slower but allow occupants to remain in unaffected areas of the building. The goal in every method is chemical neutralization of the odor source, not masking it with fragrance.
How do you work with insurance and choose the right contractor?
Insurance and contractor decisions run in parallel from day one, and getting either one wrong costs money.
Insurance interaction steps:
Report the loss the same day. Delayed reporting can complicate coverage.
Ask your insurer whether they have a preferred or approved vendor list. You are generally not required to use it, but knowing it exists helps you negotiate.
Understand your deductible and how payment milestones work. Most policies pay in stages: an initial advance, progress payments, and a final settlement after completion.
Keep a written log of every conversation with your adjuster: date, time, name, and what was discussed.
Request an itemized estimate from your contractor before work begins. That estimate becomes the basis for your claim.
Coastalhrli’s insurance claims assistance service helps homeowners document scopes and coordinate directly with adjusters, which reduces the back-and-forth that delays settlements.
Contractor selection checklist:
Verify IICRC FSRT credentials for any technician doing soot or smoke work.
Get a written scope with line-item costs, start date, and projected completion date.
Confirm the contractor will pull all required permits and carry permit responsibility.
Ask for a dedicated project manager’s direct contact number.
Request three local references from fire restoration projects completed in the past two years.
Red flags to walk away from:
Vague scopes that describe work in general terms without quantities or line items.
Large upfront cash payment requests before work begins.
Out-of-town firms that appeared in your neighborhood immediately after a major fire event (storm chasers).
Refusal to provide a written contract before starting.
Managing the project once work begins:
Require weekly progress photos and moisture-reading reports. Any work added beyond the original scope needs a signed change order before it starts. Do not authorize final payment until your insurance adjuster has inspected the completed work and you have received all permit closeout documentation.
How long does fire restoration take, and what does it cost?
Timeline and cost both depend heavily on the scope of damage. A contained kitchen fire with limited smoke spread is a very different project from a whole-home structural loss.
Phase | Minor Fire (1 room) | Moderate Fire (partial home) | Major Fire (structural) |
Emergency stabilization | 1–2 days | 1–3 days | 2–5 days |
Assessment and scope | 1–2 days | 2–4 days | 3–7 days |
Water extraction and drying | 3–5 days | 5 days | 7 days |
Soot cleaning and pack-out | 3–7 days | 7 days | 14 days |
Odor treatment | 1–3 days | 3–7 days | 7 days |
Reconstruction | 1–3 weeks | 4–8 weeks | 3–6 months |
Estimated total | 3–6 weeks | 2–4 months | 4–9 months |
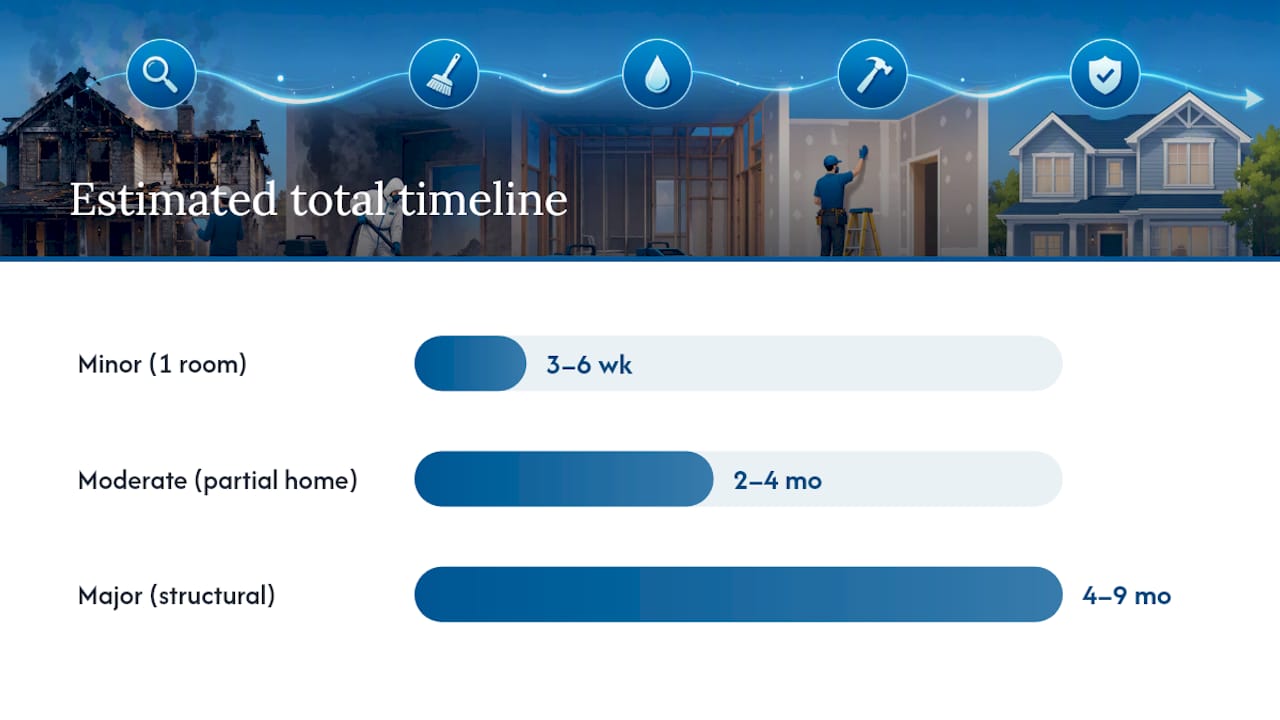
Insurance claim cycle delays add time to every category. If the adjuster requires a re-inspection or disputes a line item, reconstruction cannot begin until that is resolved.
Major cost drivers:
Scope of structural rebuild. Framing, roofing, and load-bearing repairs are the largest single cost variable.
Controlled demolition volume. More contaminated material removed means more disposal cost and more reconstruction.
Contents restoration versus replacement. Restoring salvageable items is almost always cheaper than replacing them, but it requires proper pack-out and cleaning, which adds labor cost.
Odor treatment complexity. Protein and fuel-oil residues are harder to neutralize and may require multiple treatment cycles.
Permit and trade costs. Electrical, plumbing, and HVAC work all require licensed contractors and inspections, which add both cost and time.
Insurance claim cycle. Disputes or documentation gaps can delay payment milestones and extend the project timeline.
NFPA’s fire-loss data provides national context on the scale and frequency of residential fire losses, which helps homeowners understand that their situation, while stressful, follows a well-documented pattern with established recovery paths.
When is DIY safe, and when do you need a professional?
The honest answer: most fire damage cleanup is not a DIY project. But there is a narrow category where homeowners can act safely, and knowing the line protects both your health and your claim.
Health risks you cannot see:
Soot is not just dirt. It contains carbon particles, heavy metals, and volatile organic compounds that irritate the respiratory system and can cause longer-term harm with repeated exposure. Chemically active residues continue to corrode metal surfaces and degrade materials even after the fire is out. Firefighting water is often contaminated with ash, chemicals, and debris. The Red Cross recommends professional intervention wherever there is visible heavy soot or structural smoke contamination because the residues pose real health and material risks.
If you enter a fire-affected area for any reason, wear an N95 or P100 respirator, nitrile gloves, and safety goggles. FEMA’s remediation guide specifies this PPE for homeowner assessments even in light-damage scenarios.
Common DIY mistakes that make things worse:
Running the HVAC system, which distributes soot through every duct and register in the house.
Using water-based cleaners on unvacuumed soot, which drives residue deeper into porous surfaces and can make staining permanent.
Attempting ozone treatment without proper controls, which creates a health hazard for anyone who re-enters too soon.
Cleaning before documenting, which undermines the insurance claim.
The decision framework:
Light smoke odor, no visible soot, fire department confirmed no structural damage: Ventilate, wipe hard surfaces with dry-chemical sponges, and consult your insurer before doing more.
Visible soot on walls or ceilings, any structural involvement, HVAC contamination, or water saturation: Call professionals. This is not a judgment call. This Old House restoration experts are explicit that DIY cleaning in these conditions often causes permanent damage that professional remediation could have prevented.
Any sign of asbestos-containing materials disturbed by the fire: Stop. Call a licensed abatement contractor before any other work proceeds.
Pro Tip: Before touching anything, call your insurer and ask whether a homeowner cleaning attempt could affect your coverage. Some policies require professional remediation for structural smoke damage. A five-minute call can save you from voiding a claim.
How Coastal Home Renovations approaches restoration work
After more than 20 years of renovation and restoration work in Suffolk County, the pattern we see most often is this: homeowners who call quickly, document thoroughly, and engage a contractor who understands the insurance process recover faster and with fewer disputes. The ones who wait, or who hire a contractor unfamiliar with adjuster coordination, spend months untangling scope disagreements that delay their return home.
At Coastalhrli, our approach to fire restoration starts with emergency stabilization, moves through documented mitigation with moisture logs and photo milestones, and carries through to permitted reconstruction. We work directly with adjusters, prepare itemized scopes that align with insurance documentation requirements, and pull all required permits for structural, electrical, and plumbing work. A recent project on Long Island involved a kitchen fire that spread smoke damage through two floors. The homeowner was back in a fully rebuilt home in under four months because the scope was documented correctly from day one and the adjuster had everything needed to approve each payment milestone without delay.
Coastal Home Renovations can help you recover after a fire
When a fire hits, the last thing you need is to manage three separate contractors while also navigating an insurance claim. Coastalhrli handles the full sequence under one roof: emergency board-up and tarping, water extraction and structural drying, soot and odor remediation, contents pack-out and cleaning, and complete interior reconstruction from framing to finished surfaces.

Our insurance claims assistance service means you have a partner who speaks the adjuster’s language. We prepare itemized scopes, document progress at every phase, and coordinate inspections so payment milestones move without delays. For kitchen fires, we handle the full kitchen rebuild from cabinet removal through final installation. For whole-home losses, our water, fire, and mold cleanup services cover mitigation through reconstruction in Suffolk County.
Call Coastalhrli for a same-day emergency assessment. Our team is available around the clock for fire loss response. Reach us through Coastalhrli to get a restoration specialist on-site fast.
Sources
The guidance in this article draws on the following authoritative sources. Each one is worth bookmarking for reference during your recovery.
Recommended
Comments