
Radiant Floor Heating for Bathrooms: Cost & Install Guide
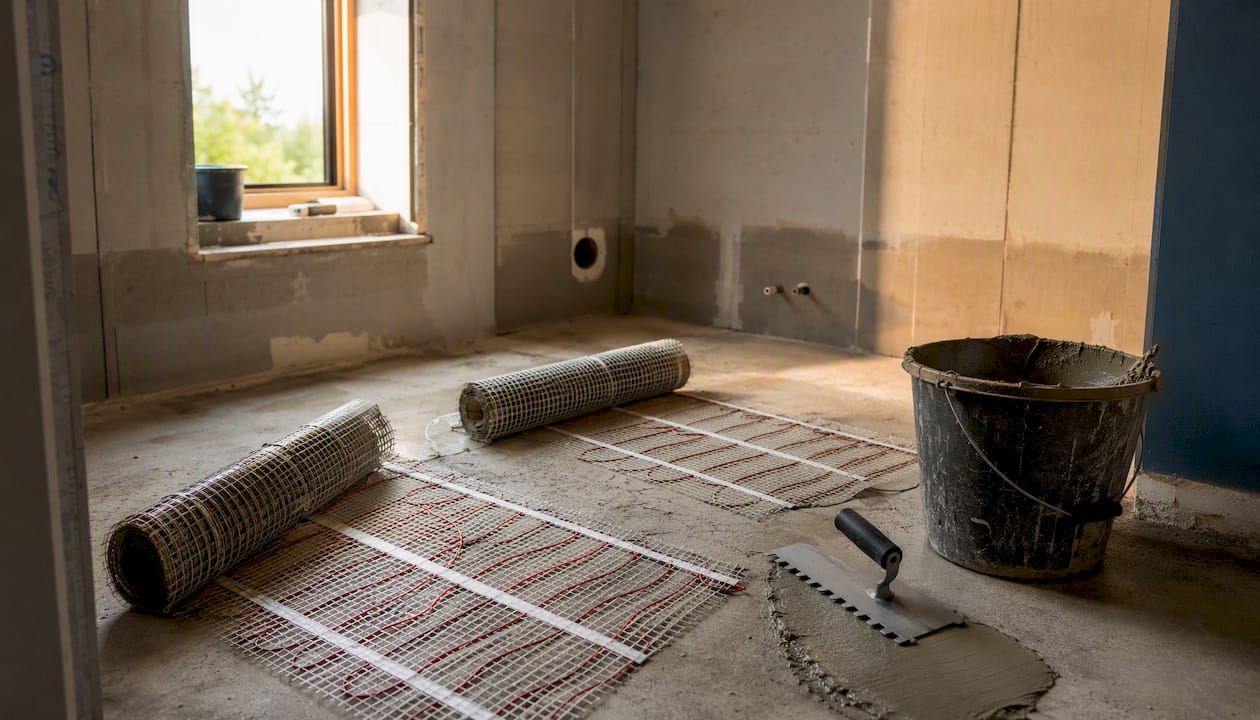
Electric radiant floor heating is worth adding to most bathrooms, and the best time to do it is during a tile replacement. For a standard bathroom, installed costs run $600–$4,600 nationally, with most homeowners seeing mid-range costs. Before you call anyone, measure the heated footprint of your floor (subtract the tub, toilet, and vanity), then request two or three itemized quotes from licensed contractors. That one step separates homeowners who get accurate bids from those who get surprised mid-project.
Table of Contents
How much does a heated bathroom floor cost?
The honest answer: it depends on system type and bathroom size, but the numbers are more predictable than most homeowners expect. WarmlyYours puts the typical installed range at a moderate cost range for most bathrooms, while HomeAdvisor’s broader national data shows a wide range with typical averages in the mid-cost area. The spread reflects real differences in system choice, bathroom size, and local labor rates, not vague uncertainty.
For a 50-square-foot bathroom with an electric mat system, expect $700–$1,400 installed. Scale that up to a 100-square-foot master bath and you can expect higher costs for electric and considerably more for hydronic.
Example costs vary by bathroom size
Bathroom Type | Approx. Heated Sq Ft | Electric Mat (Installed) | Hydronic (Installed) |
Powder room | about 20–30 sq ft | lower installed cost range | Not recommended |
Full bath | about 40–60 sq ft | moderate installed cost range | higher installed cost for hydronic |
Master bath | about 80–120 sq ft | higher installed cost range | notably higher installed cost for hydronic |
Estimates include materials, labor, thermostat, and electrician hookup. Flooring (tile, stone) is separate.
Which system is right for your bathroom: mat, cable, or hydronic?
Three system types exist, but for a single bathroom, the choice is almost always electric. Electric systems are the recommended option for the vast majority of single-bathroom installs because they cost less upfront, install in a day, and heat up in 30–60 minutes.
Feature | Electric Mat | Electric Loose Cable | Hydronic (PEX) |
Best for | Retrofit, standard layouts | Irregular shapes, custom layouts | New construction, whole-house |
Installed cost / sq ft | $8–$18 | $10–$20 | $15–$35+ |
DIY-friendliness | Moderate (layout only) | Moderate (layout only) | Low (requires licensed plumber) |
Time to heat | 30–60 min | 30–60 min | 30–60 min |
Flooring compatibility | Tile, stone, LVT/LVP (verified) | Tile, stone, LVT/LVP (verified) | Tile, stone, some engineered wood |
Operating cost | $0.15–$0.35/hr | $0.15–$0.35/hr | Lower at scale, higher upfront |
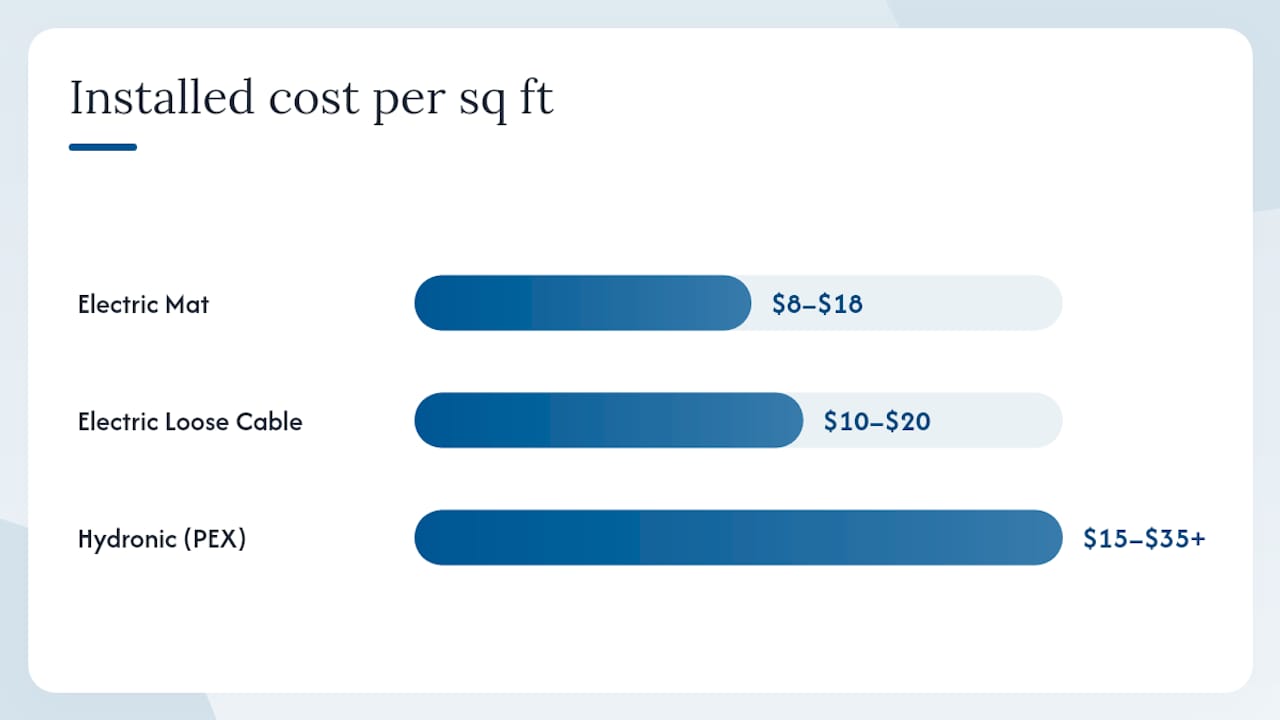
Electric mats are pre-spaced cables attached to a fiberglass mesh. You roll them out, cut the mesh (never the cable) to navigate around obstacles, and embed them in thinset. They’re the fastest install for rectangular or square bathrooms.
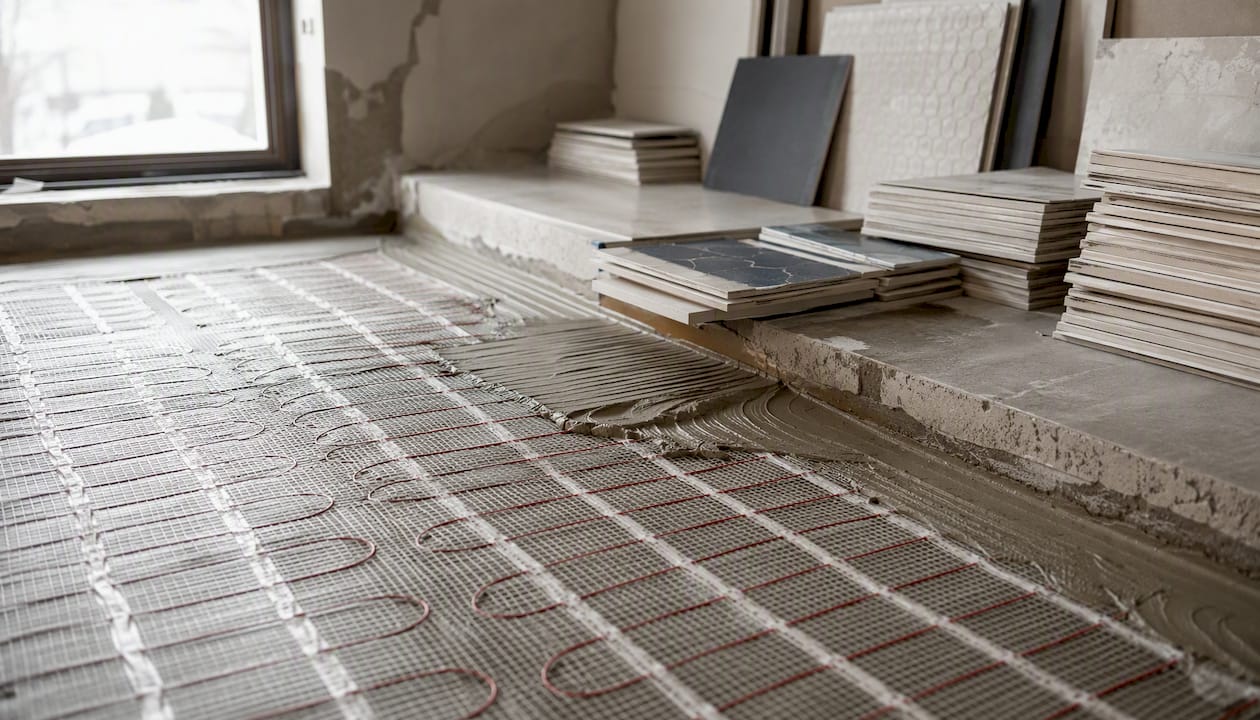
Electric loose cable gives you more flexibility in oddly shaped rooms. You staple or tape the cable to the subfloor in parallel runs, spacing it according to the manufacturer’s spec. More time-consuming than a mat, but better for L-shaped layouts or rooms with multiple alcoves.
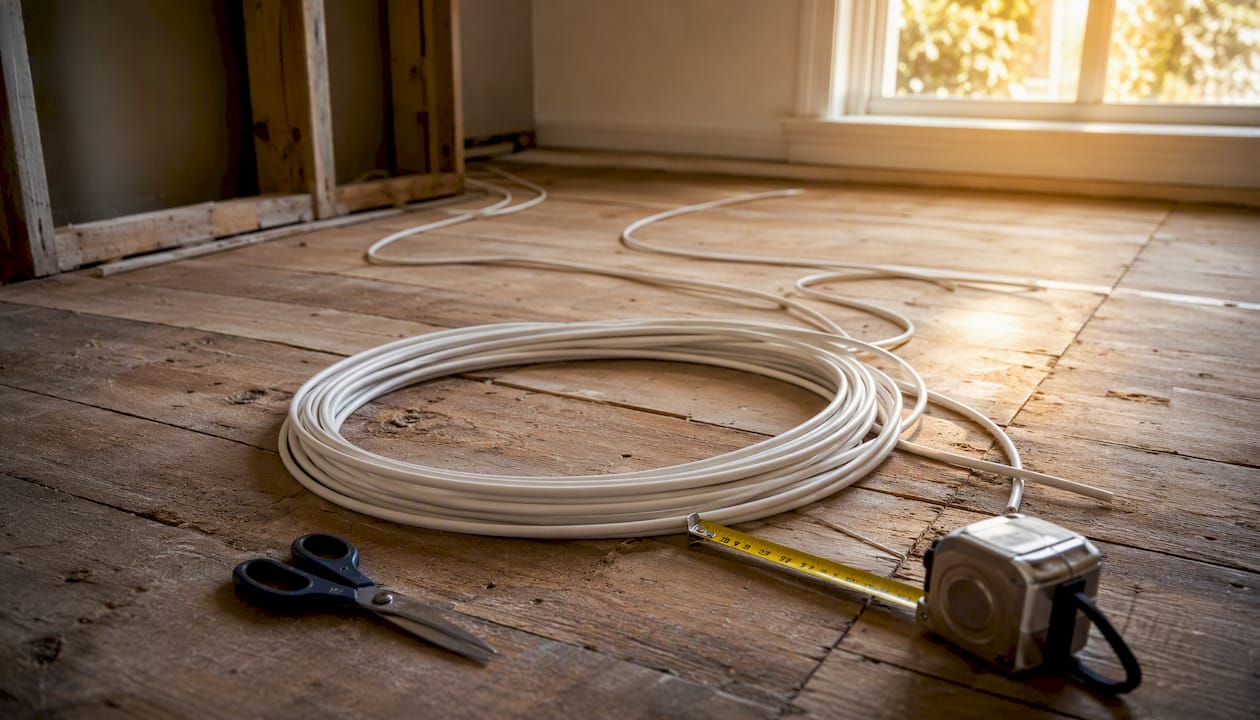
Hydronic systems circulate hot water through PEX tubing embedded in the floor. They only make financial sense for whole-house installs or when a boiler already exists. For a single bathroom, the boiler installation alone adds thousands of dollars and requires a licensed plumber. Skip hydronic unless you’re doing a full home system.
How to install electric radiant floor heating in a bathroom
This is a practical overview of the install sequence, not a substitute for the manufacturer’s instructions. Use it to understand scope and decide what you can handle versus what needs a licensed electrician.
Measure the heated footprint. Sketch the bathroom floor and subtract all fixed fixtures: toilet base, vanity cabinet, tub, and shower pan. Only the open walking area gets heated. This measurement drives your mat or cable order.
Prep the subfloor. On a wood subfloor, install a layer of cement board or uncoupling membrane (such as Schluter DITRA) to prevent flex and provide a stable thermal base. On concrete, check for moisture and level any high spots. Lowe’s installation guide recommends following manufacturer clearances for both substrate types before laying any heating element.
Plan the layout. Keep the cable or mat at least 2–3 inches from walls and fixed objects. Never overlap runs. For mats, cut the mesh backing only to change direction; cutting the cable voids the warranty and destroys the element.
Place the floor sensor. The thermostat’s floor sensor goes between two cable runs, roughly in the center of the heated zone, inside a conduit so it can be replaced without tearing up the floor. Run a second (spare) sensor in the same conduit during installation. Replacing a failed sensor after the tile is set is nearly impossible, and the spare costs almost nothing to add at this stage.
Embed the heating element. Apply a layer of thinset or self-leveling compound over the mat or cable. Check resistance with a multimeter before and after embedding to confirm no cable damage occurred during installation. The element should read within 10% of its rated resistance.
Set the tile. Once the embedding layer cures (typically 24 hours), tile installation proceeds normally. Use a notched trowel and follow the tile manufacturer’s instructions for adhesive coverage over a heated substrate.
Electrical hookup. This step requires a licensed electrician. The thermostat connects to a dedicated 120V or 240V circuit at the panel, with a GFCI breaker. The floor sensor wires into the thermostat. The electrician also verifies the circuit load matches the mat’s wattage spec, typically 12–15 watts per square foot for electric systems.
Commission the system. Wait the full tile adhesive cure time before powering on, usually 28 days for thinset to fully cure under load. Start at a low temperature setting and increase gradually over the first week. Program the thermostat with a preheat schedule before your typical morning routine.
Pro Tip: Test the heating element’s resistance with a multimeter at three points: before unboxing, after layout, and after embedding. Any significant drop in resistance indicates a damaged cable. Catching it before the tile goes down saves an expensive tear-out.
How much will a heated bathroom floor add to your electric bill?
Electric radiant floor heating in a bathroom typically runs between $0.15 and $0.35 per hour, depending on the size of the heated area and your local electricity rate. For a 50-square-foot bathroom running two hours a day, that’s roughly $9–$21 per month at average U.S. electricity rates.
The math behind it: electric radiant systems consume approximately 0.03–0.05 kWh per square foot per hour. A 50-square-foot floor at 0.04 kWh/sq ft/hr draws 2 kWh per hour. At $0.15/kWh (close to the national average), that’s $0.30 per hour. Run it two hours daily and you’re at $18/month.
A programmable thermostat with a floor sensor is the single most effective way to control operating costs. It preheats the floor 30 minutes before you need it and shuts off automatically, so you’re not heating an empty bathroom for eight hours.
Three things keep monthly costs low:
Targeted coverage. Heating only the open floor area (not under the tub or vanity) reduces the active wattage draw. A well-measured footprint in a 60-square-foot bathroom might only cover 35–40 square feet of actual heating element.
Insulation under the element. On a wood subfloor over an unconditioned crawl space, adding rigid foam insulation beneath the heating layer cuts heat loss downward and shortens the time needed to reach set temperature.
Preheat scheduling. Most programmable thermostats let you set a 30-minute preheat window. The floor reaches temperature before you step in, then the thermostat cycles to maintain it. That’s far more efficient than leaving it on all morning.
Hydronic systems cost less per hour to run at scale, but only when a high-efficiency boiler serves multiple zones. For a single bathroom, the operating savings never offset the higher installation cost within a reasonable timeframe.
Which flooring works best over radiant heat?
Porcelain and ceramic tile are the top choices, and it’s not close. Stone (marble, travertine, slate) performs nearly as well. Both materials conduct heat efficiently, tolerate the temperature cycling that radiant systems produce, and carry no special compatibility requirements beyond standard installation practice.
Flooring Type | Radiant Compatibility | Notes |
Porcelain / ceramic tile | Excellent | Best heat transfer; no special adhesive needed |
Natural stone | Excellent | Verify sealer is heat-tolerant |
Luxury vinyl tile/plank (LVT/LVP) | Conditional | Max surface temp typically 80–85°F; verify manufacturer spec |
Engineered hardwood | Conditional | Narrow boards preferred; check manufacturer’s radiant approval |
Solid hardwood | Not recommended | Expands/contracts with temperature cycling; most manufacturers void warranty |
Laminate | Generally not recommended | Check manufacturer; many prohibit radiant heat use |
LVT and LVP are workable if you stay within the manufacturer’s surface temperature limit, usually 80–85°F. Most electric bathroom systems run well within that range, but you need written confirmation from the flooring manufacturer before installation. The same applies to engineered hardwood: some brands approve radiant use, others don’t, and the warranty language is where it matters.
For flooring installation in Suffolk County, Coastalhrli works with tile, stone, and LVP products and can confirm radiant compatibility before any material is ordered.
One rule that applies across all flooring types: never install radiant heat under a floating floor without the manufacturer’s explicit approval. Floating installations trap heat differently than glued-down or mortar-set floors, and the temperature buildup can warp or delaminate the product.
What can you DIY, and what requires a licensed pro?
Most homeowners can handle the layout and prep work. The electrical connection is not optional to DIY, and in most U.S. jurisdictions, it’s illegal to do so without a license.
What you can do yourself
Measure the heated footprint and create a layout plan
Install cement board or uncoupling membrane on a wood subfloor (if you have tile experience)
Roll out and position electric mats, or staple loose cable to spec
Place the floor sensor conduit between cable runs
Apply thinset or self-leveling compound over the heating element
Test resistance with a multimeter at each stage
What requires a licensed electrician
Connecting the thermostat to the electrical panel
Installing a dedicated circuit (120V or 240V)
Installing a GFCI breaker (required by the National Electrical Code for bathroom circuits)
Verifying load calculations and circuit sizing
For hydronic systems, add a licensed plumber to the list. Connecting PEX tubing to a boiler or manifold is permitted work in every state.
Questions to ask before hiring:
Does this system require a dedicated circuit, and is that included in your quote?
Which thermostat model are you specifying, and does it include a floor sensor?
Where exactly will the floor probe be placed, and will you run a spare sensor?
What is the warranty on the heating element, and who handles a warranty claim?
Can you provide proof of license and insurance before work begins?
Who pulls the permit, and is the inspection included in your price?
A short safety note: never cut a heating cable to shorten it. The cable is sized to a specific resistance; cutting it changes the wattage output and creates a fire risk. If a cable run is too long for the space, loop it back or choose a smaller mat size.
Planning checklist and sample budget by bathroom type
Getting consistent quotes from multiple contractors requires giving each one the same information. Walk into every conversation with this checklist ready.
Quote checklist:
Scaled sketch of the bathroom with heated footprint marked (fixtures excluded)
Flooring type you’ve selected or are considering
Thermostat preference (basic programmable vs. Wi-Fi enabled)
Subfloor type (concrete slab, wood over crawl space, wood over conditioned space)
Distance from bathroom to electrical panel
Whether you want the contractor to pull the permit or if you’ll handle it
Any insulation requirements under the heating element
Sample budget ranges by bathroom type
Bathroom Type | System | Materials | Labor + Electrician | Thermostat | Total Estimate |
Powder room | Electric mat | $150–$200 | $300–$400 | $80–$150 | $600–$850 |
Full bath (50 sq ft) | Electric mat | $250–$400 | $400–$600 | $100–$200 | $700–$1,400 |
Master bath (100 sq ft) | Electric mat | $450–$700 | $600–$900 | $100–$200 | $1,150–$1,400 |
Master bath (100 sq ft) | Hydronic | $700–$1,400 | $600–$3,500 | $150–$300 | $1,450–$3,500 |
Flooring (tile, stone, LVP) is not included. Permit fees ($50–$150) are also separate.
The strongest financial case for adding radiant heat is when you’re already replacing the floor. The tile and labor are already budgeted; adding the mat before the tile goes down costs a fraction of a standalone install. Bathify’s analysis and multiple contractor guides converge on this point: the marginal cost of the heating element during a tile project is typically $300–$600 for a standard bathroom, compared to $700–$1,500+ for a dedicated retrofit.
Financing options vary by contractor. Some offer payment plans through third-party lenders; others work with home equity lines. Ask specifically whether the contractor has a financing partner before assuming you need to pay the full amount upfront.
What to expect when you hire a local bathroom remodeler
A well-run bathroom radiant floor project follows a predictable sequence. Knowing the milestones helps you hold a contractor accountable and spot scope creep early.
Typical project timeline
Phase | Work Included | Typical Duration |
Site measure and planning | Heated footprint, subfloor assessment, layout design | 1–2 hours |
Demolition and subfloor prep | Tile removal, subfloor leveling or cement board install | 1–2 days |
Heating element installation | Mat/cable layout, sensor placement, resistance test | 4–8 hours |
Electrical rough-in | Thermostat box, conduit, circuit run to panel | 2–4 hours (electrician) |
Tile setting | Thinset embed, tile layout, grouting | 1–3 days |
Electrical finish | Thermostat wiring, GFCI breaker, commissioning | 1–2 hours (electrician) |
Inspection and cure | Permit inspection, 28-day cure before full power-on | 3–4 weeks |
What to check on every quote
Is the heating element brand and model specified by name?
Is the thermostat model listed with a floor sensor included?
Is the electrician’s work a separate line item with a license number?
What is the warranty on the heating element, and does the contractor honor it or refer you to the manufacturer?
Is floor sensor placement documented in the scope?
Coastalhrli’s project gallery shows finished bathroom renovations with tile and flooring work across Suffolk County. For homeowners who want to see the scope of a completed project before committing, that’s a useful reference point. Local experience with Long Island’s coastal conditions, including moisture management and subfloor considerations specific to homes near the water, is part of what Coastalhrli brings to every bathroom project.
Key Takeaways
Electric radiant floor heating in a bathroom costs $700–$1,500 installed for typical electric systems, operates at modest hourly cost rates, and delivers the best return when scheduled during a tile replacement.
Point | Details |
Install during tile work | Adding radiant heat during a tile replacement cuts marginal cost to $300–$600 vs. $700–$1,500 for a standalone retrofit. |
Electric mat for most bathrooms | Electric mats are the right call for single-bathroom projects; hydronic only makes sense for whole-house systems. |
Hire a licensed electrician | GFCI breaker, dedicated circuit, and thermostat wiring are code-required and cannot be DIY’d legally in most jurisdictions. |
Run a spare floor sensor | Install a backup sensor in the same conduit during the project; replacing a failed sensor after tile is set is nearly impossible. |
Coastalhrli for Suffolk County | Coastalhrli handles site measure, layout, tile, and electrician coordination for bathroom radiant floor projects in Suffolk County. |
The detail most homeowners miss until it’s too late
The most common mistake on a bathroom radiant floor project isn’t picking the wrong system or overspending on the thermostat. It’s measuring the heated footprint wrong.
Homeowners consistently order mats sized to the full bathroom square footage, then discover on installation day that 30–40% of that area sits under the vanity, toilet, and tub. The excess mat can’t be cut to fit, and returning a custom-cut heating element isn’t an option. The result: a wasted mat, a delayed project, and a second order.
The second thing that catches people off guard is subfloor condition. A bathroom that looks fine from above can have soft spots, moisture damage, or inadequate height clearance once the old tile comes up. Adding a heating mat and cement board raises the finished floor height by roughly 3/8 to 1/2 inch. If the existing threshold, door clearance, or toilet flange height doesn’t accommodate that, you’re looking at additional work that wasn’t in the original quote.
Both of these are solvable problems when you catch them before demolition. A contractor who does a proper site measure, checks the subfloor, and accounts for finished floor height in the scope is worth the extra time upfront. The ones who skip that step are the ones who call you mid-project with a change order.
Coastalhrli handles the full scope of your bathroom radiant floor project
For Suffolk County homeowners, Coastalhrli offers a complete bathroom radiant floor package: site measure, heated footprint layout, tile and flooring installation, thermostat specification, and electrician coordination, all in a single itemized quote. You don’t have to manage a separate tile contractor, a separate electrician, and a separate flooring supplier. One contractor, one timeline, one point of contact.
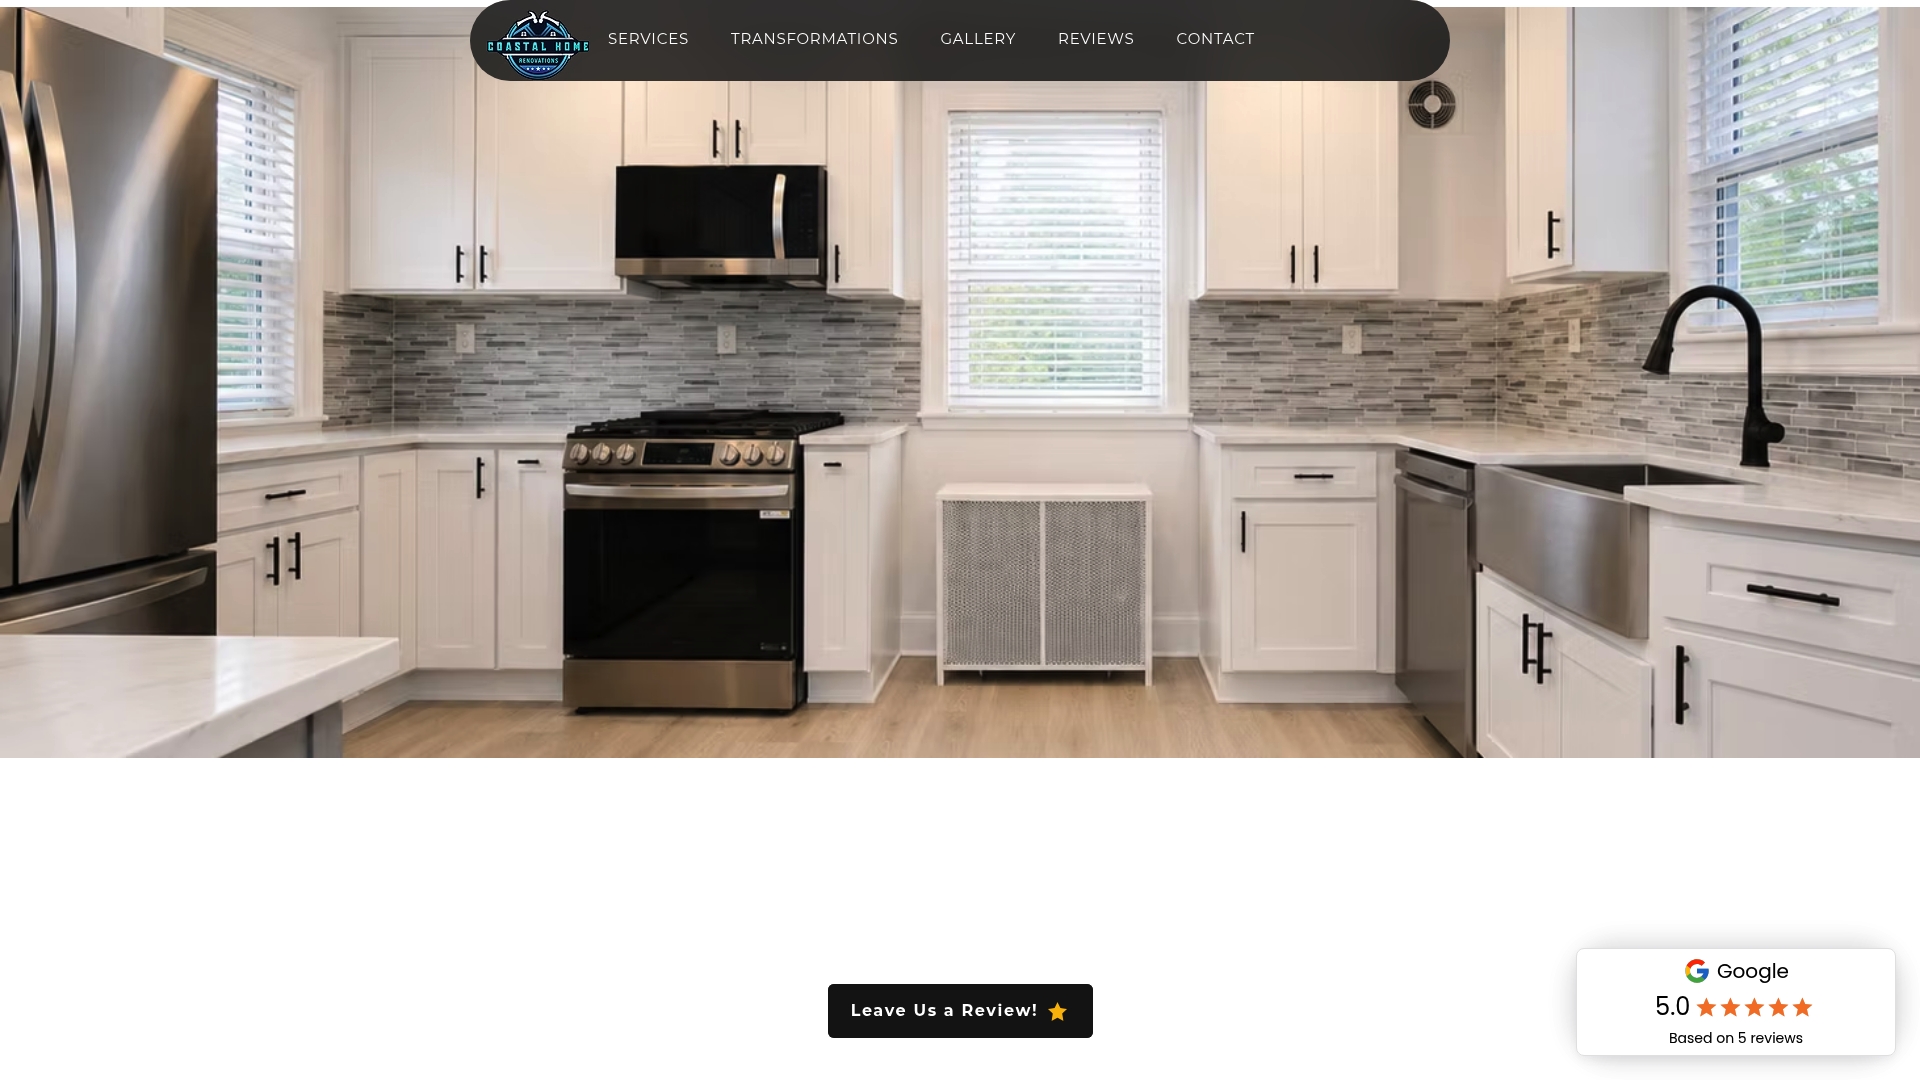
Coastalhrli has been renovating bathrooms on Long Island for over 20 years, with specific experience in the moisture and subfloor conditions common to coastal homes in Suffolk County. Every quote includes a written project timeline so you know exactly when each phase happens and who is on-site.
View completed bathroom renovations in Suffolk County or request a consultation to get a site measure and itemized estimate for your project.
Trusted sources and where to check local code
These are the sources referenced throughout this guide, plus a reminder on local permit requirements.
WarmlyYours — Bathroom Floor Heating: Cost and Installation: Detailed cost ranges, running-cost examples, and thermostat/sensor guidance from a major U.S. radiant heat manufacturer.
HomeAdvisor — Heated Bathroom Floor Cost: National cost data and labor breakdowns aggregated from contractor quotes across the U.S.
Lowe’s — How to Install Radiant Floor Heating Systems: Step-by-step installation sequences for electric and hydronic systems with practical clearance and embedding guidance.
Bathify — Heated Bathroom Floors: Cost, Types & Is It Worth Installing?: System-type comparison, operating cost math, and the financial case for bundling with a tile replacement.
NationwideBuilders — Heated Bathroom Floor Cost: Per-square-foot cost estimates and system recommendations for single-bathroom installs.
UnderfloorHeating.info — Bathroom Underfloor Heating Guide: Electric vs. hydronic comparison and heat-up time guidance.
D and G Flooring — Bathroom Floor Heating Guide: Contractor-level wattage specs, footprint measurement rules, and floor sensor placement advice.
CostToRenovate — Heated Bathroom Floor Cost Calculator: Tiered budget calculator for budget, mid-range, and premium installs.
Local building department: Permit requirements for bathroom electrical work vary by municipality. Before any work begins, confirm permit requirements with your local building department. In Suffolk County, the Coastalhrli team handles permit coordination as part of the project scope.
Recommended
Comments